
Click on any image below to enlarge
*Note. Images still show the Agobo v1 build. Agobo2 is similar but rotated 90 degrees.
Basic Build
1. Check you have all the parts:
- Agobo ready built main board
- 2 rear wheels
- Front caster bag containing read-assembled caster
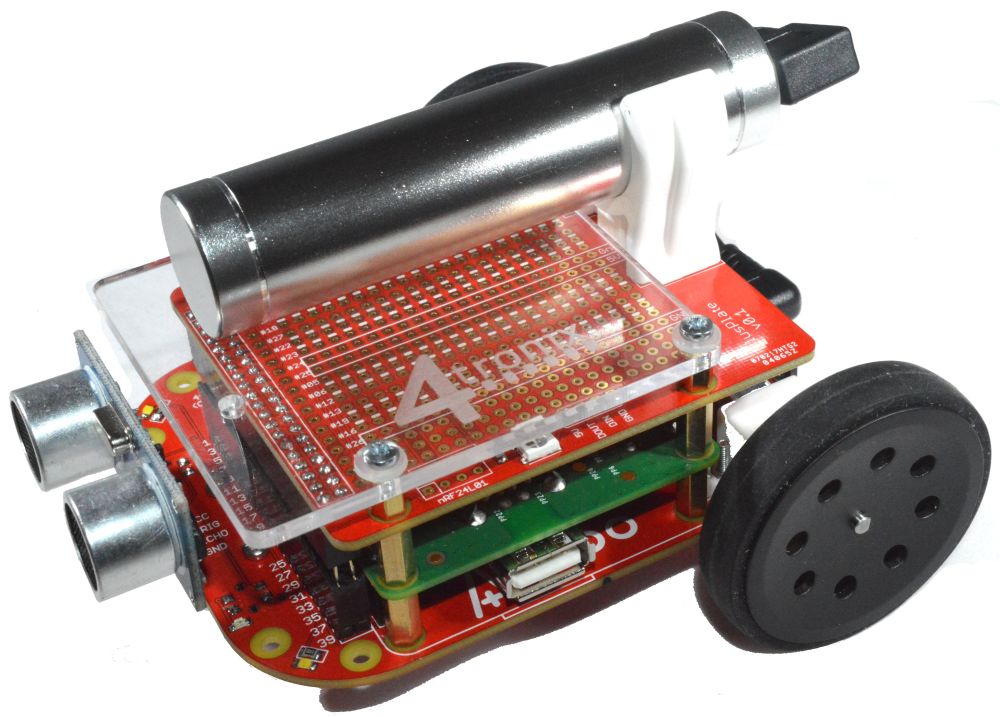
- Acrylic cover with “Agobo2” etched on
- Battery holder clip
- 16mm countersunk screw
- M3 nut
- 4 x 11 mm female-female pillars
- 8 x 6mm screws
- Battery with connector/charge cable
- 4 male-female pillars (5mm)
- 4 nylon washers
2. Fit the Front Caster
For Agobo2 this has already been done for you, so skip to Step 3
This is a fiddly task, but it is the only one. Once it is done, the rest is easy

Put the main ball in the housing, and the small balls into the “corners” as shown above

Put on the cover plate and hold it all together with your fingers, as you place it on the PCB

Then use the small (10mm) screws to fix it to the PCB.
That wasn’t so hard, right? (NB. If using the PlusPlate™, or wiring onto the replicated header pads, you will need to use the 3mm spacers and the longer screws – this is a much trickier operation)
3. Fit the Battery Holder
For Agobo2, the battery holder is fitted to the Acrylic plate, so skip to step 4

You will need the 5mm small acrylic plate, 20mm countersunk screw, M3 nut and the battery clip

Remove the backing plastic from the acrylic plate – it should be bright and transparent
Push the screw through from the top of the battery clip, through the acrylic plate, through the PCB and tighten the M3 nut underneath
4. Add the Mounting Pillars for the Pi

You will need the 4 female-female pillars (11mm) and the 8 screws (M2.5, 6mm)

Screw the 4 pillars into the PCB in the positions shown
5. Fitting the Acrylic Plate

6. Add the pillars

Screw the 5mm male-female pillars in to the 11mm pillars that hold the Raspberry Pi A+
3. Fit the Acrylic Cover

- Peel off the protective covering from the acrylic plate (now it is nice and shiny!)
- Screw the battery clip to the offset hole in the acrylic using the 16mm screws and M3 nut (the 5mm spacer acrylic piece is not required)
- Now use the 6mm screws with the nylon washers to hold the acrylic cover to the small pillars
- All done!
—–
Using with the PlusPlate
1. Check you have all the parts

To attach the PlusPlate you will have to do some light soldering.
First, fit the 2x20pin male headers to the main board as shown above
2. Re-Attach the Front Caster with spacers

Note: This is really tricky – take it carefully and patiently. There is a knack to doing it, which is described below, but it takes a few attempts before you can do it quickly.
You will need the longer screws and the 3mm spacers found in the bag with the front caster.
- Prepare the front caster as before and hold in one hand
- Hold the main PCB vertical (ie. resting on the back end (USB connector end)
- Put one long screw through the hole in the PCB
- Put a spacer over the screw so that it rests on it – remember, the screw is horizontal at this point. Gravity is your friend.
- Screw into the caster assembly with the other hole of the caster upwards(careful, though as it is easy to over-tighten)
- Now turn the caster into the correct position, and push the other spacer into position
- Then, screw the second screw in.
- Now, you can have a cup of coffee, or glass of wine, or whatever. You deserve it!
3. Add the Mounting Pillars

Use the 4 Male-Female 11mm pillars and screw each on in, holding the Pi in place
4. Prepare the PlusPlate

Solder the 40-way female header to the bottom of the PlusPlate

Push in the 40-way extended header

5. Connect the PlusPlate and Battery

Push the PlusPlate with extended headers into the male headers that you soldered onto the main PCB

Fix the PlusPlate with the 6mm screws (from the base build)
Add the battery clip to the PlusPlate using the 12mm countersunk screw

Fit the battery and off you go!
You can also add the Acrylic cover with the PlusPlate
Use the 5mm Male-Female pillars and mount the acrylic cover with the overhang at the front
Leave the battery clip fitted to the PlusPlate to reduce the overall height.