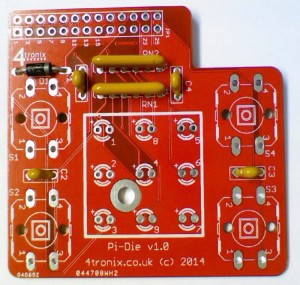
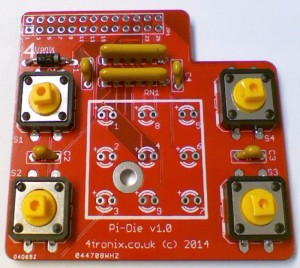
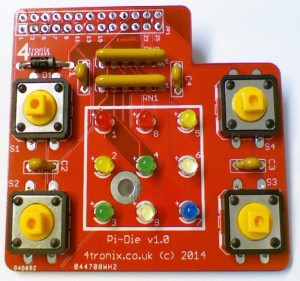
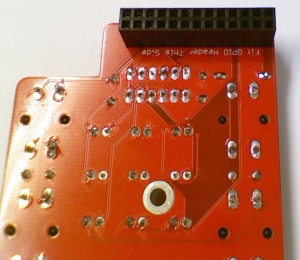
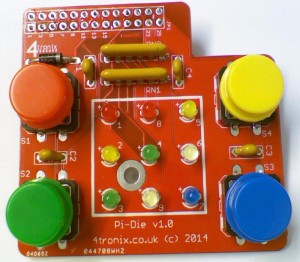
Click on any image to enlarge it
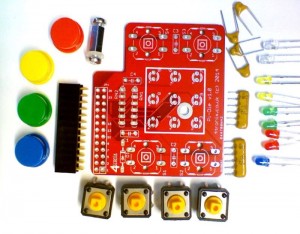
Check you have all the parts
- Printed circuit board (PCB)
- 1 x Diode (not shown above)
- 4 x switches
- 2 x resistor networks
- 4 x capacitors 100nF
- 12 x LEDs (2 x red, 2 x yellow, 2 x green, 2 x white, 1 x blue)
- 1 x GPIO 26-waye female header
- Mounting assembly (10mm hex spacer, 2 x M3 screws, 1mm washer)
Starting Soldering
If you haven’t soldered before, you might want to check out this instructable. I find that the following order of soldering works best, starting with the lowest profile components and moving to the highest. This allows me to place the components through the holes in the PCB, then turn the PCB over onto the desk surface and gravity will hold the components in place. You can also use Blutack to hold the components in place while you solder
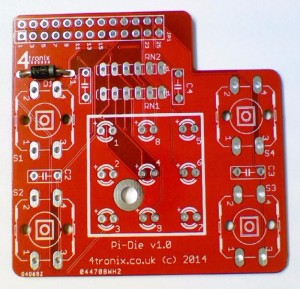
1. Add the diode
The black diode has a white/grey stripe on one end. this MUST match the marking on the PCB as shown in the photo below in the position D1
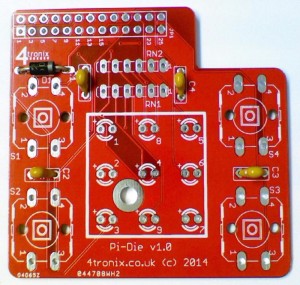
2. Add the 100nF Capacitors C1, C2, C3, C4
These are small, yellow and marked 104. It doesn’t matter which way round they are put in, but it is neatest if they point the same way. They fit into positions marked C1, C2, C3 and C4
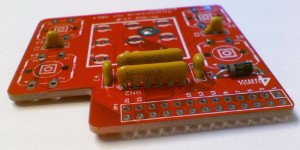
3. Add in the resistor networks RN1, RN2
These must be soldered in the correct way round. Double check before soldering. The writing needs to be closest to the GPIO header location, with the black dot (for pin 1) next to the end marked on the PCB with a small ‘1’
4. Solder the switches
These may already be clipped into position when you receive the kit, because that protects them during shipping. However, they will not be soldered so you need to do that for them to work. It doesn’t matter which way round they go – they can fit in 2 positions.
5. Add in the LEDs
The LEDs must fit in the correct way round or they will not work. The long legs on each diode must go into the hole next to the + mark on the PCB. All LEDs are oriented the same way – so if you get one right, then all should be right.
6. Solder the GPIO Header
This must be placed on the opposite side of the board to all other components. It is extremely difficult to remove them if soldered incorrectly, so please double check before soldering
7. Add the Caps for the switches
These can go any way round, Just carefully push on so they click in place
8. Screw on the spacer
Fit an M3 screw through the hole in the board, then add the 1mm washer, then screw on the 10mm hex spacer. You can then push the board onto the Pi and the spacer will keep the board stable when the switches are pressed. You can screw it onto the Pi if you like, or simply let it rest. Please don’t use this spacer if using a Rev A Pi (without the mounting holes) as there are components in that place which can be damaged,

