Add Motors to (Almost) Any Pi Zero Project
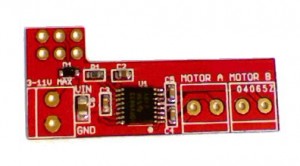
This tiny little board (38 x 16mm) can be added to a Raspberry Pi Zero (or any other Pi for that matter) to provide dual H-Bridge control of 2 DC motors.
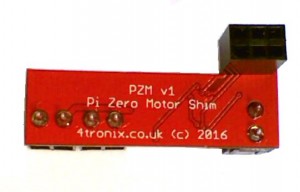
It is so thin (0.8mm) that it can be soldered onto the bottom of the connector (assuming you have added one to your Pi Zero), or you can solder on the female or male headers included in the kit so you can connect and remove it, however you have configured your Pi Zero.
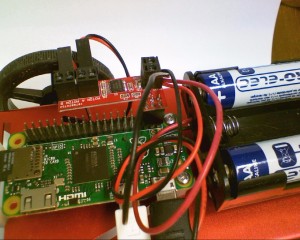
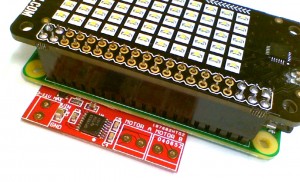
Above shows the PZM with a female header added so it can be plugged onto a “normal” male header as shown below, Note how the PZM sticks out from the Pi, so other boards can still be mounted as usual
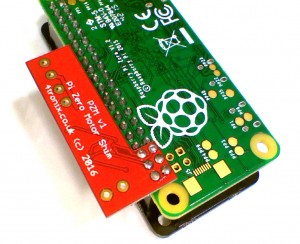
Alternatively, you can mount it by soldering it directly to the bottom of the header, thus leaving the header free to attach other boards as shown below:
Contents
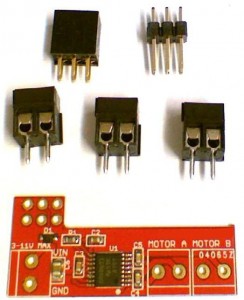
So what do you get in the package?
- Ready assembled PZM shim
- 3 x screw terminals
- 3×2 Male header
- 3×2 Female header
Programming?
This is a 4 pin driven, dual H Bridge. 2 pins control Motor A and 2 pins control Motor B
- Motor A is physical pins 35 and 36 (Broadcom GPIO 16 and 19)
- Motor B is physical pins 37 and 38 (Broadcom GPIO 26 and 20)
- For each motor:
- One pin High and the other Low for Forward
- One pin Low and the other High for Reverse
- Both pins Low will stop driving the motor and allow it to slowly coast to a halt
- Both pins High will brake the motor and bring it to a halt very quickly
- The pzm.py library module provides basic functions for forward, reverse, spin left, spin right, turn left/right forward, turn left/right reverse
Downloads:
From a terminal window on your Pi type the following lines exactly:
$ wget http://4tronix.co.uk/pzm.sh -O pzm.sh
$ bash pzm.sh
This will have created a pzm folder in your home directory, with the following files:
- pzm.py python library
- pzmTest01.py shows use of the motors without using the library
- pzmTest02.py shows the motors moving in the same way as pzmTest01 but using the library (much simpler program)
- pzmTest03.py allows the use of arrow keys (and , and . to change speed) to control the motor directions
Wiring?
- Put power 3V to 11V on the terminal marked VIN and GND. If you are using low power motors you can use the 5V from the Pi (note this isn’t connected to the PZM board)
- Reverse polarity protection is provided so you won’t break it by putting them on the wrong way round, but it won’t work until you get it right!
- Connect one motor to Motor A and the other to Motor B
- Done!

