IP Display Dongle – Usage & Software
(Click on any image to enlarge)
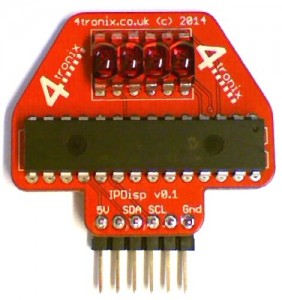
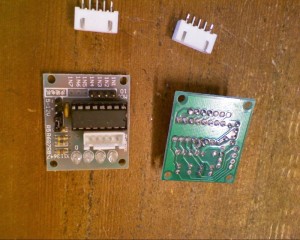
The IPDisp V1 is a 4-digit 7-segment LED display utilising a “retro” LED of the type found in 1970s calculators. This makes for a cute little display device that can be used to display anything you like that will fit in a 7-segment display. V2 uses a standard 7-segment display which is slightly larger. Both PCBs are the same size: 40 x 32mm (width x height).
You can purchase it here at 4tronix.
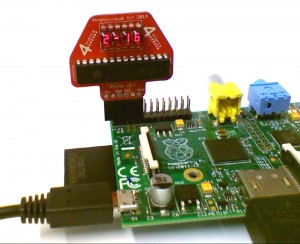
It was conceived as a device to help roboteers find the IP address of their robot so that they can connect to it via SSH or VNC for control purposes. Of course you can use a network scanner such as the excellent Fing, but that can become unwieldy in a corporate or educational establishment with a lot of connected devices. This unit is much more fun and can be setup to display the IP address directly on boot up.
IPDisp uses an I2C Port expander chip, the MCP23017, to address all the segments (anodes) as well as the individual common cathode digit drivers. The provided software, in Python, time-multiplexes the digits so that each digit is displayed for only 25% of the time.
Connecting the IP Display Dongle
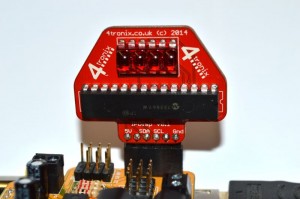
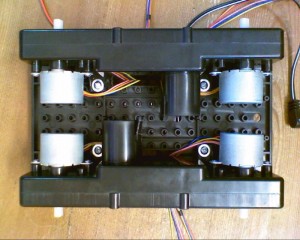
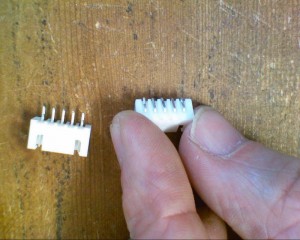
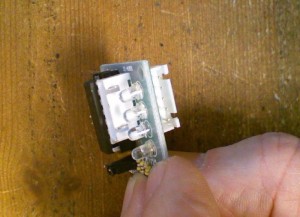
The pinout is designed to match the I2C expansion socket on every 4tronix robotics controller board: PiRoCon, MicRoCon, Pi2Go and PGX. Simple select the type of header you want to use and solder it on. You may want it to lie flat, stand vertical, lie flat but higher up (extended header), etc. Then, making sure that you have it correct way round, plug it directly into the I2C expansion header. Here we show it plugged vertically into the I2C expansion connector on a MicRoCon controller board.
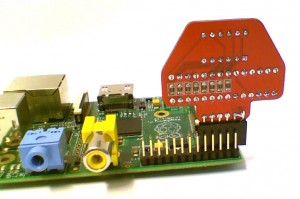
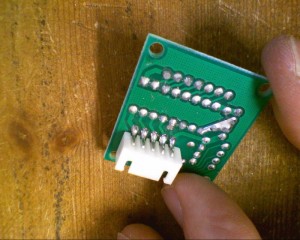
We also include female headers in the package, so you can plug into a male header, or use male-ended jumper wires to connect to your I2C pins. In fact, apart from the 5V connection, the layout of the pins matches the standard GPIO header on the Raspberry Pi, pins 1, 3, 5 and 7. So plug the header in to the pins as shown below, with the 5V pin hanging off the end. You then have 2 choices:
- Use a male-female jumper wire to connect the 5V on the IPDisp to Pin 2 on the GPIO header
- Solder across the last 2 pins (5V and “not connected”). This powers the IPDisp off the 3.3V from the Raspberry Pi. Although it “works”, it is not recommended except frr emergencies as it does use too much power for continuous use.
Running the Software
Make sure that you have the I2C drivers enabled on your SD card. If not, follow this post by Raspi.TV
Download the python sample file and run it using sudo python ipd03.py:
$ cd ~
$ mkdir ipd
$ cd ipd
$ wget http://4tronix.co.uk/ipd/ipd03.py
$ sudo python ipd03.py
This will display the IP address and scroll it across the display a number of times, before quitting. If the Pi is not connected to a network, then it will display 0-0-0-0 and wait until the network is connected before displaying the correct IP address. As the continuous updating of the display is processor intensive, we don’t leave it running permanently.
The current version of the software will exit with an exception if the IPDisp is not connected. We didn’t bother to catch the exception as the information is what we need anyway.
Of course, this is not a lot of use like this because we must already be connected, or running locally when running the application like this. It is much more useful to get the program to autostart when the Pi boots up. To do that follow the instructions to instigate a startup program when the desktop starts. (you can also put the code in the startup list, but we’ll do it like this for now)
Open LXterminal
$ cd ~ (back to home directory)
$ cd .config
$ mkdir autostart (not required if it already exists)
$ cd autostart
$ sudo nano ipd.desktop
…and enter the following lines. Note that the Exec line needs to have the correct location for where you have put the program.
[Desktop Entry]
Encoding=UTF-8
Type=Application
Name=IPDisplay
Exec=sudo python /home/pi/ipd/ipd03.py
StartupNotify=false
Terminal=false
Hidden=false
Exit (ctrl-x) and save (y) then reboot. The IPDisplay will show the IP address of the Pi.

