Ar2Pi2 – The Robot That Can be Arduino or Raspberry Pi
(Previously known as BotZero)
Click on any photo to enlarge.

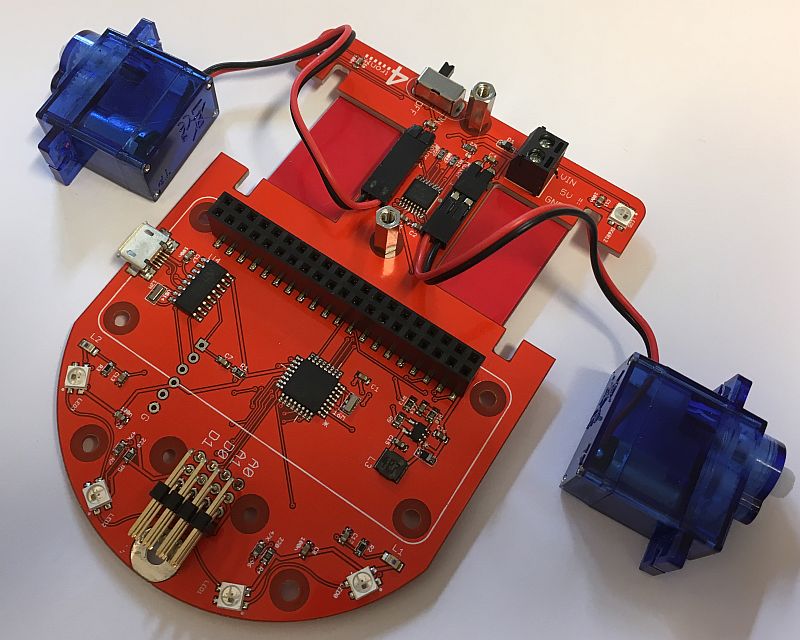
Ar2Pi2 as an Arduino Uno compatible robot
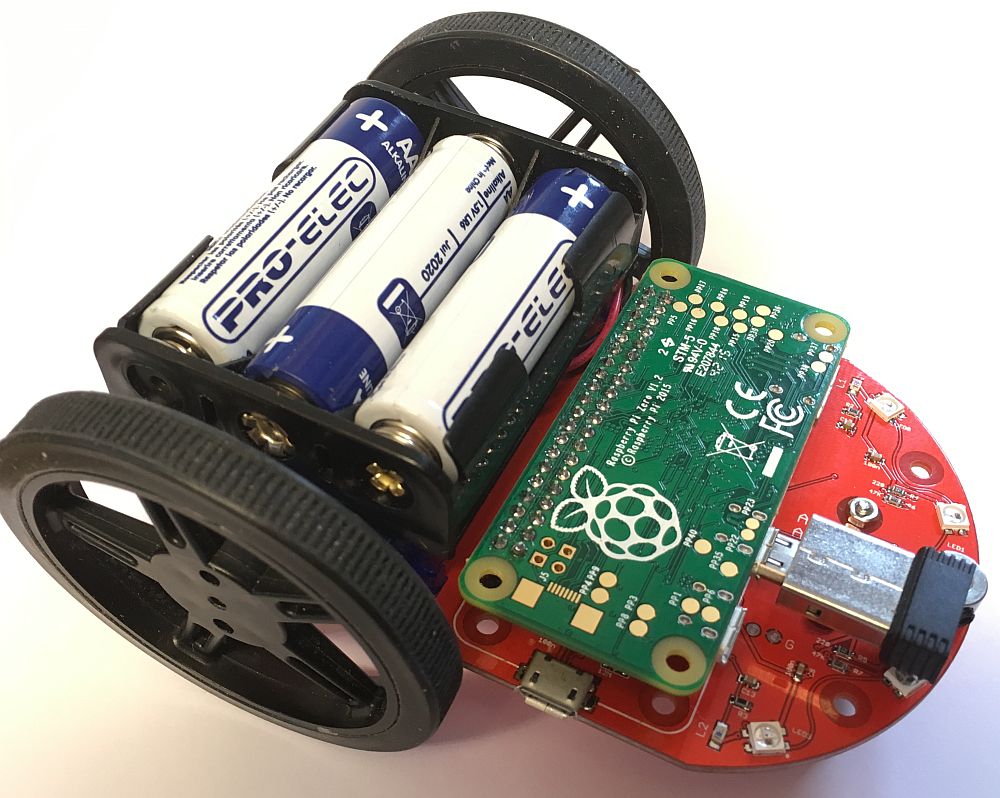
Ar2Pi2 as a Raspberry Pi robot
Overview
Ar2Pi2 is a tiny robot that fits well inside the boundaries of an A6 sheet of paper (148 x 105mm). This makes it ideal for Micro Pi Noon and other small robot competitions.
Including the wheels it is 110 x 90mm and is 60mm high
The robot contains an ATMega328 which can be programmed over the USB interface just like an Arduino Uno. The robot is then fully programmable using any of the standard Arduino methods. A simple demo program is BotZMotor.ino
Alternatively, you can program the ATMega328 with the BotZero01.ino code and plug in your Raspberry Pi Zero and use the Pi to control the robot. This is very similar to the way our Picon Zero intelligent robotic controller works (in fact they share a lot of the same code). In this Raspberry Pi mode, there is a full Python library to enable you to control everything on the robot from python running on the Pi
The whole robot is powered by 3 AA cells. There is an onboard “boost” regulator to generate the 5V needed for the Pi.
Features
- Hardware controlled by ATMega328
- Powered by 3xAA batteries
- 6 x RGB pixels (mini “neopixels”)
- 2 x Analog light sensors
- 2 x Analog line following sensors
- 2 x DC motors fitted in servo cases
- Large 60mm diameter wheels
- Front smooth running caster
- USB interface to the ATMega328
- 4 x general purpose I/O lines with GVS (Ground, Volts, Signal) 3-pin connections. These can be Digital or Analog etc (just like Picon Zero)
- On/Off switch
- Special fitting for Micro Pi Noon balloon holder and popper (If this is fitted, the 4 I/O lines GVS pins cannot be used)
- Designed for Raspberry Pi Zero, but other Raspberry Pis could be fitted by using a suitable extension header
Pictorial Overview

Assembling the Kit
Step 1 – Attach the Bottom plate and mounting pillars

Check you have the bottom mounting plate, 2 pan-head screws and 2 10mm pillars

Orient the bottom plate so the holes clear the soldered components as shown

Push the screws through the bottom plate and the main board, then screw into the 10mm pillars

Step 2 – Attach the Motors
All you need is the motors. Ensure the wires exit from the back of the motors and the red wires are both on the inside as shown

Carefully twist the wires so they fit between the motors, ensuring they don’t go over the motors
Step 3 – Fit the Battery Holder

You’ll need the battery holder and 2 countersink head screws

First connect the battery holder to the screw terminals. Red towards the rear, marked Vin

Twist the wires in between the 2 motors – again being careful that the wires do not get trapped between the motors and the battery holder. Warning: this is tricky! You can leave the wires out which is much easier, but it doesn’t look as tidy, so it is worth persevering.
Step 4 – Fit the Front Caster

Use the short 6mm screws (in the separate bag of screws and pillars) and note that the spacers provided with the caster are not required

With the ball out of the holder, push the screws through the black holder and through the PCB

Screw the nuts on tight

Finally, push the steel ball into the holder. It should snap tightly in and move very smoothly
Step 5 – Attach the Wheels

First stretch the tyres over the plastic wheels. Then push the wheels onto the shafts of the motors

Use the screws provided to tightly fix the wheels
Your Ar2Pi2 is ready to rock and roll!
Add batteries and switch it on to demo the LEDs and the motor operations. Next step, write some programs…
Download the python library and examples from here