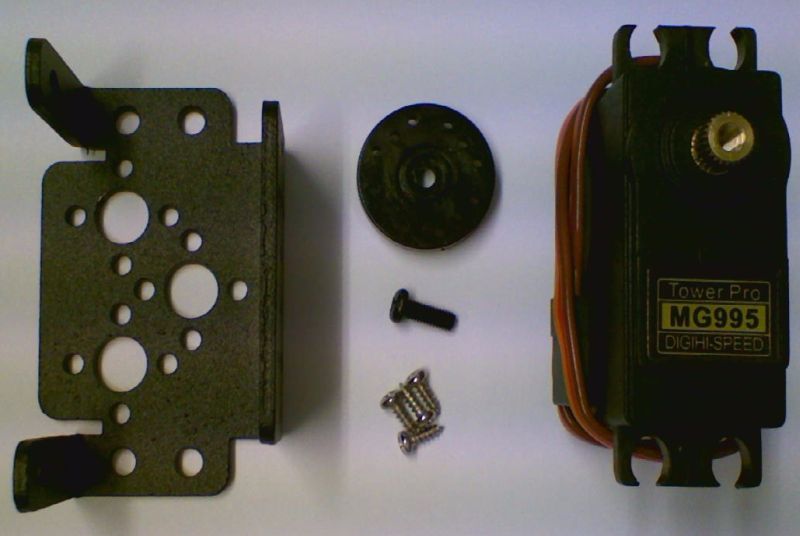
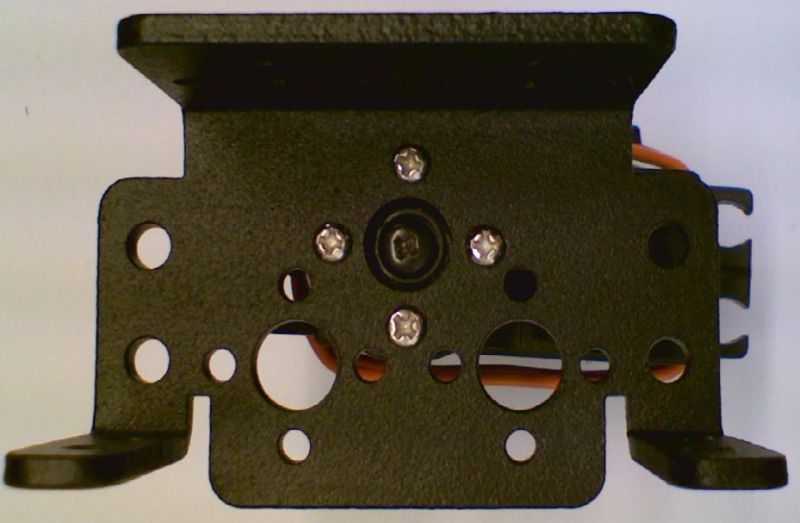
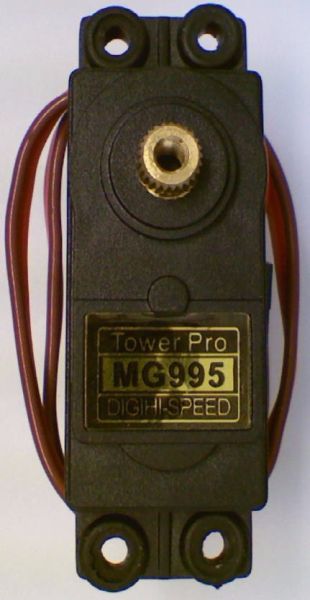
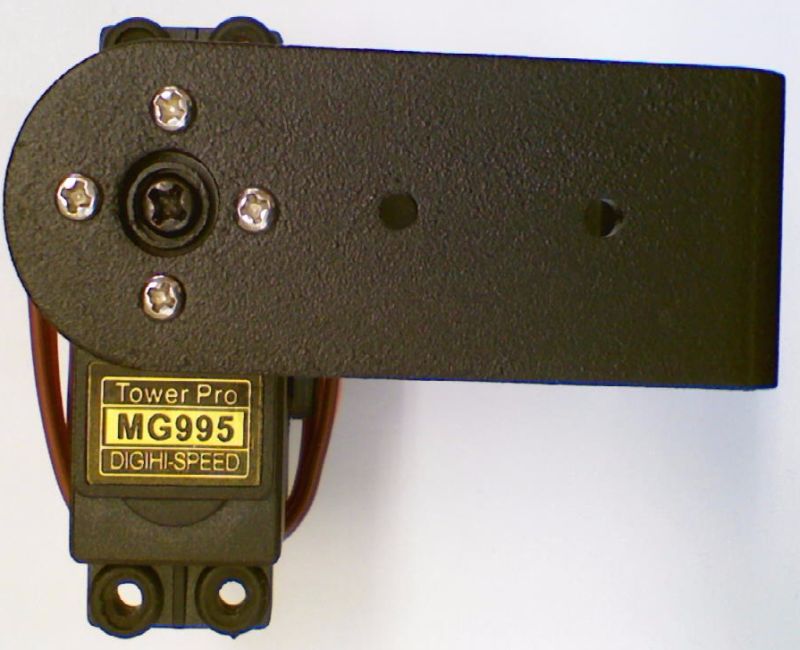
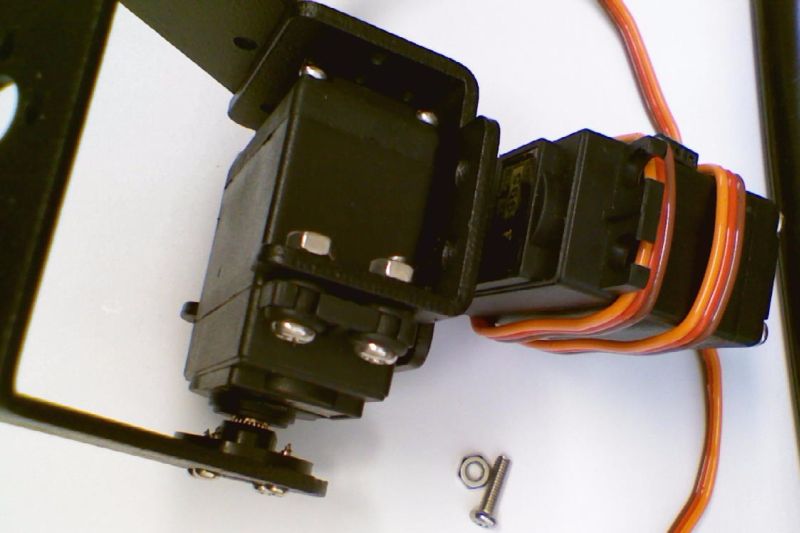
Step 1: Connect Pan servo to the Pan bracket - Prepare Parts
Parts Required: Servo, Pan bracket, servo horn, servo horn screw, 4pcs self-tapping screws (may be black or silver)
NB. Depending on the hardware provided with the servo you may need to cut a 4-way horn to size
Step: 2: Connect pan servo to Pan bracket - Connected Servo
Step 3: Connect Tilt servo to Tilt bracket - Prepare the parts
Parts Required: Servo, servo horn, servo horn screw, 4pcs self-tapping screws, 4pcs rubber grommets
NB. Grommets are only required if using M3 screws for the servo, we usually supply M4 screws so grommets not required
Step 4: Connect Tilt servo to Tilt bracket - Fitted rubber grommets (Only required if using M3 screws)
Step 5: Connect Tilt servo to Tilt bracket - Fitted servo to Tilt Bracket
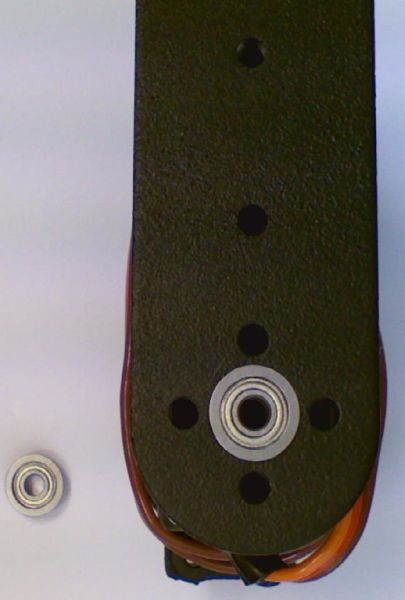
Step 6: Fit Ball Bearing to Tilt Bracket assembly
Parts Required: 1 ball bearing (shown below already fitted), tilt bracket assembly
Step 7: Connect Pan assembly to Tilt assembly - Prepare parts
Parts required: Pan assembly, Tilt assembly, pan head screw
Step 8: Connected Assembly
Step 9: Final Assembly
Parts Required: 4pcs M4 screws, 4pcs M4 nuts (sometimes we may supply M3 screws and nuts)
Screw Tilt servo to Pan bracket as shown. Do not over-tighten
|